


Basement Waterproofing


Basement Waterproofing
Not sure whether your basement needs waterproofing from the inside, the outside, or both? Basement waterproofing is the umbrella term for protecting your home from water intrusion, and the right method depends entirely on where your water problem is coming from. Aquatech has waterproofed basements across Toronto and the GTA since 1996, and every project starts with identifying the actual cause before recommending interior or exterior waterproofing. Contact us for a free assessment to find out exactly what your home needs.
What Is Basement Waterproofing?
Basement waterproofing is the general term for any system designed to keep water out of your basement: whether that means managing water after it enters, or blocking it before it reaches your foundation at all. It covers a range of methods, from sump pump installation and interior drainage to full exterior excavation and membrane application. The right approach depends on your foundation type, the source of the water, and your budget: which is why a proper inspection, not a generic package, should always come first.
Aquatech, Trusted for Over 30 Years


Two Ways to Waterproof Your Basement
There are two core approaches to basement waterproofing, and understanding the difference is the first step in choosing the right one for your home.
Exterior Waterproofing
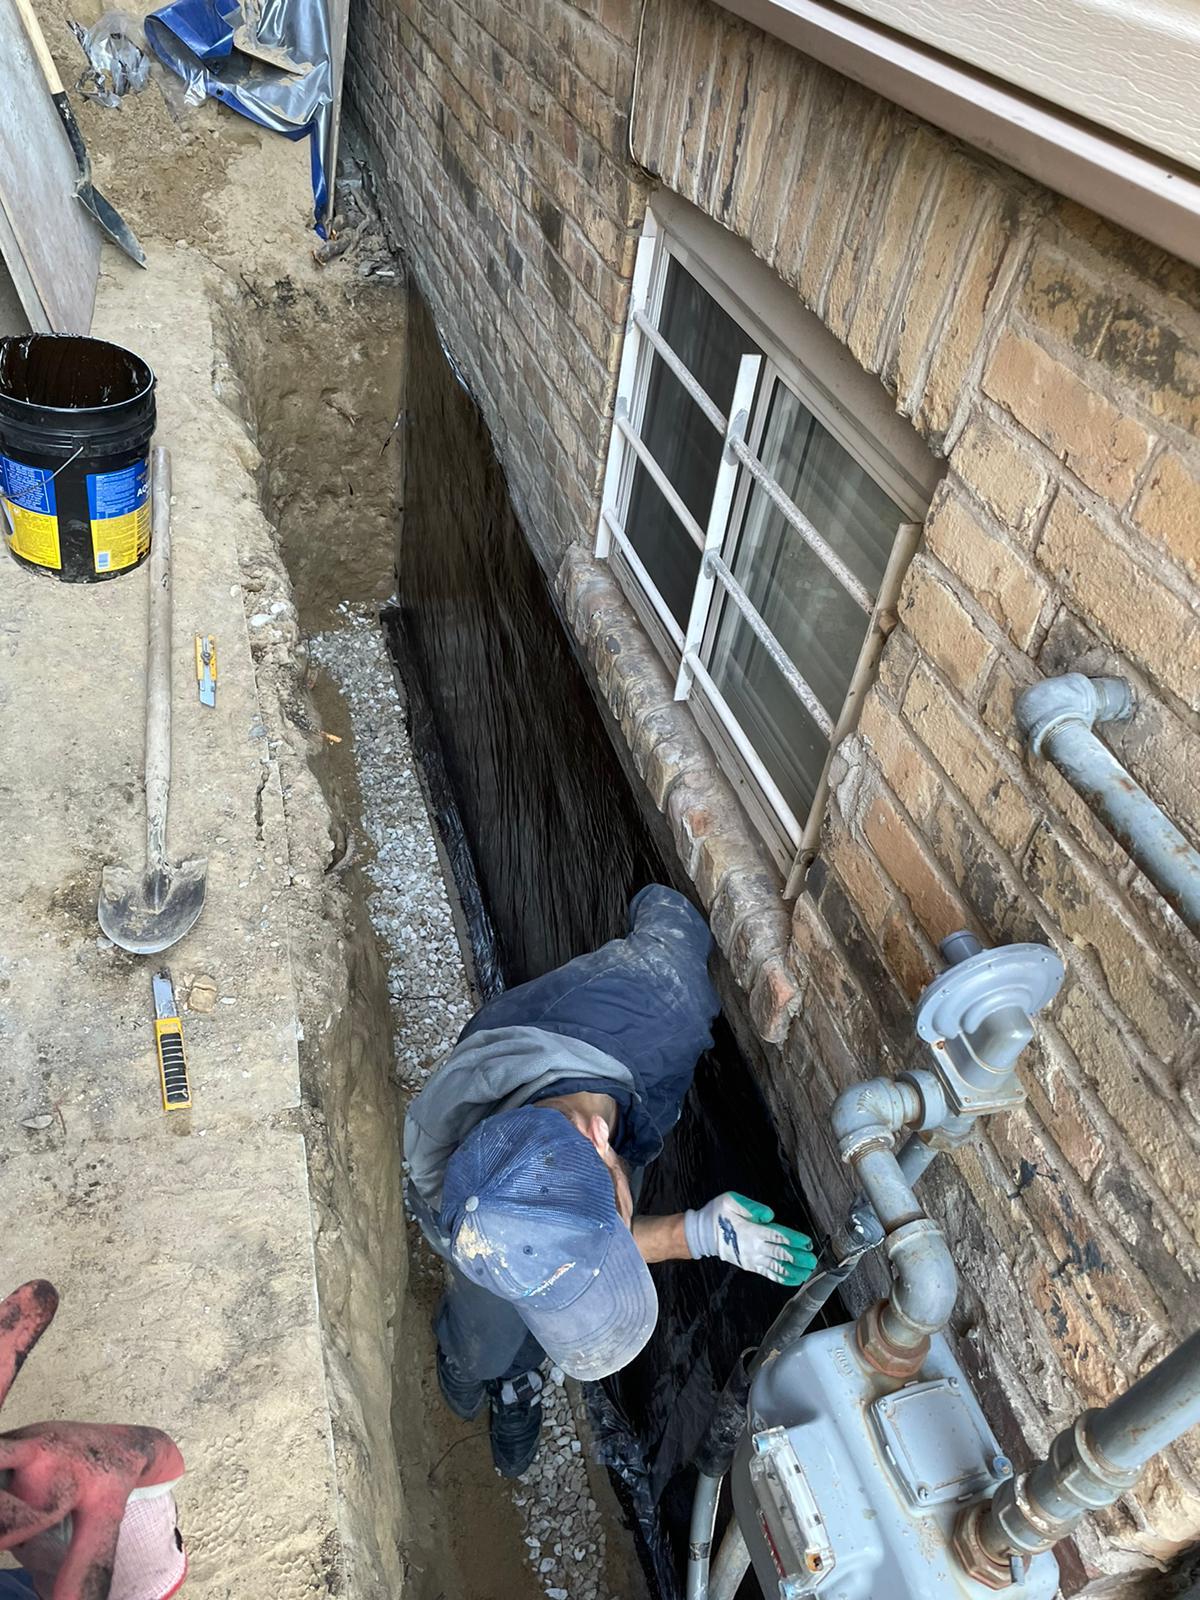
Exterior waterproofing stops water before it reaches your foundation at all, by excavating around your home and sealing the foundation wall from the outside. It’s the more permanent solution, but it requires excavation and a larger upfront investment.
Interior Waterproofing
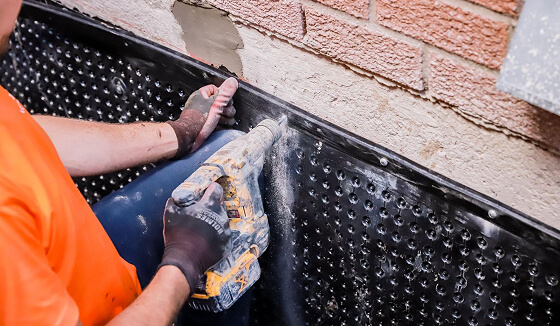
Interior waterproofing manages water after it enters, using drainage and a sump pump to redirect it out of your home. It’s faster, less invasive, and more affordable, a strong fit for managing existing seepage without excavating your yard.
What Our Clients Have to Say
Basement Waterproofing Testimonials


-
 Rated 5 out of 5 stars
Igor and Anatolia installed a new sump pump and interior waterproofing after a basement flood. The crew worked efficiently, kept the area clean, and finished on schedule. Professional, knowledgeable, and fairly priced—would absolutely recommend.
-
 Rated 5 out of 5 stars
Vlad’s crew worked diligently and professionally to waterproof our foundation. They made sure everything was tidy and clean when they were done. Everything was very good from the beginning communication to get the quote until the very end. We highly recommend this company.
-
 Rated 5 out of 5 stars
Just had our house waterpoofed by Aquatech – fabulous job! They did exactly what was outlined to us … no surprises, which was wonderful. The workers on site, Igor and Anatoly, were amazing, very professional and detailed oriented. We had a couple of things that were out of the scope of the project and Igor went over and above resolving all issues beyond our expectations. In all, a very professional job and they tidied up after themselves – highly recommend!!
-
 Rated 5 out of 5 stars
Alex and crew just finished. They were quick and left no mess afterwards. Time will tell how the exterior waterproofing holds up but I’m hoping it’s good now!
-
 Rated 5 out of 5 stars
Alex & Alex dud an amazing job. Prompt, hard workers and kept everything as clean as possible. Looks great .than you.
-
 Rated 5 out of 5 stars
My basement sump pump room wall just below my outside stairs and veranda were wet when we had more than 1 inch of rain. I called Aquatech Basement Waterproofing, and assigned Eric to meet me and assessed the work to be done and provided a very reasonable quote, and the work was scheduled to meet my schedule. There were 2 crews of 2 men all from Ukraine, all very knowledgeable, professional and did a wonderful job. They protected the flooring from the my main doorway right down to the basement room where the work was being done. The first 2 man crew removed the Styrofoam from that was on the basement walls and ceiling, moved my battery backup sump pump and moved to a safe locatiion while working in a small area. They broke the concrete floor around the room down to the footings, which needed to be to add weeping tile. They cleaned the area as they worked, removed the concrete debris and then brought in the required material to install weeping tile. The second crew assisted with the installation of the waterproof membrane on the walls, install the weeping tile and cementing of the part of the floor where the weeping tile was installed and added to the sump pump basin. They reinstalled the light and light switch, wall plug outlet. This all was done in a few hours. I would highly recommend Aquatech as their staff are very knowledgeable and very efficient in doing their job. I would definitely use them again if I have any future for any basement Waterproofing, or water issues. Thank you so very much Dianne P. The were very professional s advised that I ca Eric came by promptly, assessed the situation, gave me a quote, very reasonable and scheduled
-
 Rated 5 out of 5 stars
Thanks to Andrew, Will, Vasyl, and Yuriy of Aquatech Waterproofing, I no longer panic when the weather forecast calls for rain. The four-man team applied interior waterproofing to a large portion of my basement in less than seven hours. They placed Dimpleboard on the walls, installed and covered new four-inch plastic weeping tile pipe and also backfilled, cleaned and cemented the entire work area. The crew was courteous, on time and professional. Company representative, Nico, who appraised the job before the work began, was also very knowledgeable and kindly answered all my questions. The cost was extremely reasonable and I have a transferable life-time warranty for their services. I highly recommend them.
-
 Rated 5 out of 5 stars
Aquatech Project Consultant Richard responded ultra-quickly to my call for an estimate on 2 cracks on the inside of my basement foundation wall, visible only after I removed panelling & insulation & only when it rained heavily & water was pouring through those 2 small cracks. Richard impressed me with his assessment expertise & the speed at which he provided the best quote & solution for my leaks & my budget as a retiree on a fixed income. The repair on the outside wall with weeping tile replacement & utilities locates was scheduled & communication with Rita in the office & follow up with Richard was excellent. The day of the repair, Water Proof Technicians Vasyl & Yuriy arrived on time & ready to work. They were totally professional, polite & prepared with expertise & the right equipment to complete the task. They impressed me to no end with their work ethic & support for each other rotating in & out of the trench to get down to the footings. They installed the new weeping tile, cleaned the foundation wall & revealed 2 very long cracks which they V cut and repaired with hydraulic concrete. The rest of the process was their standard applications of Aqua Block, fibreglass mesh, another layer of Aqua Block, a layer of Poly-tarp, & a Dimpleboard membrane installation. They back filled the trench & cleaned up the area to perfection. Aquatech is blessed to have Vasyl & Yuriy as employees – thorough & meticulous. They are 12 out of 10 in my opinion!!! Note: 2 of my neighbours were impressed & asked for Aquatech’s phone number from me. Thank you Richard, Rita, Vasyl & Yuri.
-
 Rated 5 out of 5 stars
Aquatech consultant, Shawn McGirr, investigated my water problem and provided a realistic and cost effective solution. A few days later Bob and Alex arrived to do the work. They both worked very hard and were efficient and clean. They completed an incredible amount of work in a very short period of time and left the worksite as clean as it was before they arrived. I’m confident that the issue has been resolved and comforted by the lifetime warranty.
-
 Rated 5 out of 5 stars
Alex, Eugene, Mike and Igor did an amazing job with my basement waterproofing project. They were very personable, very hardworking and very efficient. I was very pleasantly surprised how quickly they finished the job. Everything was cleaned up and put back in order when they were done. I definitely recommend Aquatech Waterproofing. From my first meeting with Tony to discuss the project, I could tell they were the right choice
When Is the Best Time to Waterproof Your Basement?
Waterproofing can technically be done year-round, but timing affects both cost and convenience. Summer is ideal for exterior work, since dry, workable ground makes excavation faster and easier. Winter is a better fit for interior waterproofing, which isn’t weather-dependent, and contractor schedules are often more open. The one time to avoid waiting until is spring: it’s peak flooding season in Toronto, and by the time water is visibly seeping in, the problem has usually existed for a while already.

Why Choose Aquatech for Basement Waterproofing
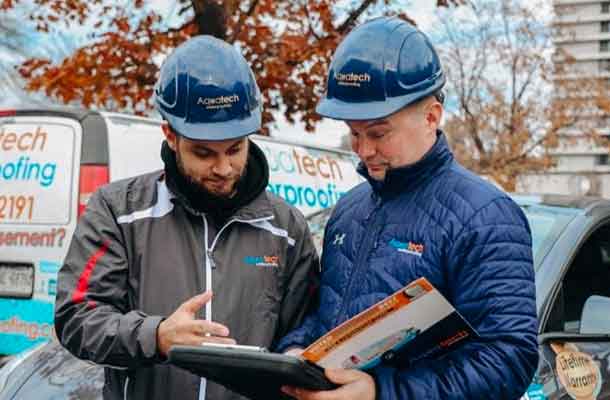
Choosing the right waterproofing method matters as much as the installation itself, the wrong choice means paying for a system that doesn’t solve your actual problem. Aquatech has waterproofed basements across Toronto and the GTA since 1996, with the expertise to recommend interior, exterior, or a combined approach based on what your home genuinely needs, backed by a lifetime warranty and price match guarantee.
✦ Lifetime warranty
✦ Licensed Trades Master oversight
✦ BBB A+ Accredited
✦ 10-time HomeStars Best of Award winner
✦ Free, no-obligation inspection
✦ Flexible financing available
✦ 2026 Top Choice Award winner
✦ 50,000+ Happy Customers
Our Basement Waterproofing Offers
Price
Match Guarantee
Get a lower quote from any licensed Ontario waterproofing contractor and Aquatech will match it: same scope, same materials.

$300 Off
Waterproofing Services
Save $300 on waterproofing projects over $12,000, ask your estimator to apply the discount at your free consultation.
lifetime
transferable Warranty
Enjoy peace of mind with long-term protection. Our systems are built to last and fully backed by warranty.


FINANCING AVAILABLE
IN Toronto


Our Basement Waterproofing Process
Since every basement’s water problem is different, we don’t start with a fixed method, we start with a diagnosis. Here’s how we determine and execute the right plan for your home.
1. Full Inspection
We assess your entire basement: walls, floor, drainage, and exterior grading: to identify every contributing cause, not just the most visible one.
2. Method Selection
Based on the diagnosis, we recommend interior waterproofing, exterior waterproofing, or a combined approach, whichever actually solves your specific problem.
3. Installation
Your chosen system is installed following our standard process for that method, with every detail handled by licensed professionals.
4. Final Walkthrough and Warranty Documentation
We test the completed system and provide your lifetime warranty documentation, so your protection is on record from day one.
Rebates for Basement Waterproofing in Toronto & the GTA
Depending on what your basement waterproofing project involves, you may be eligible for a municipal rebate covering part of the cost: worth checking before you book, since funding is limited and paid out first-come, first-served.
City of Vaughan: Up to $750 toward backwater valve installation
City of Toronto: Up to $2,250 toward sump pump installation, plus $300 for battery backup, under the Basement Flooding Protection Subsidy Program, expanded to a combined $6,650 lifetime maximum per property as of May 1, 2026
City of Mississauga: Up to $7,500 combined for sump pump installation and other flood prevention measures under the Basement Flooding Prevention Rebate, note that work must be pre-approved by the city before installation begins, or the rebate is denied
Peel Region (Brampton, Caledon): Up to $1,500 toward backwater valve installation
Signs You Need Basement Waterproofing
01
Your Basement Shows Any Signs of Water or Moisture
Whether it’s a damp smell, a stain, or standing water, any sign at all means it’s time for a proper inspection, not a wait-and-see approach.
02
You’ve Never Had Your Basement Professionally Assessed
If no one has ever evaluated your foundation and drainage, you don’t actually know your risk level yet.
03
You’re Planning to Finish, Sell, or Renovate
Never build over an unprotected foundation, waterproofing first protects the investment you’re about to make.

Affordable Basement Waterproofing
Waterproofing is a real investment, but there are genuine ways to manage the cost. Aquatech’s price match guarantee ensures you’re never overpaying for the same protection elsewhere. If your project includes a sump pump or backwater valve, a municipal rebate can offset part of the cost. Flexible financing is also available, and because a proper inspection identifies exactly what your home needs, you’re never paying for more waterproofing than the problem actually requires.
FEATURED WATERPROOFING PROJECTS
Discover Our Completed Waterproofing Projects
From single crack repairs to full exterior waterproofing systems, Aquatech has completed projects across Toronto and the surrounding region, interior drainage, exterior excavation, sump pump installation, and everything in between. Every project reflects the same standard: a proper diagnosis, quality materials, and lasting results backed by a lifetime warranty. Browse real projects below to see the kind of work homeowners trust us to deliver.
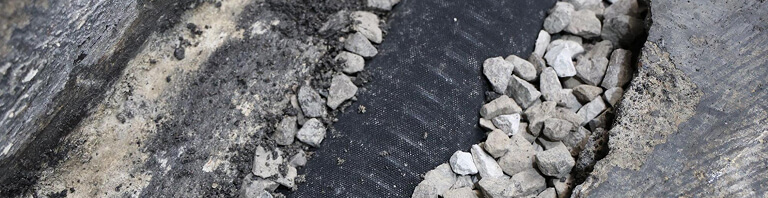
Exterior Waterproofing in Hamilton
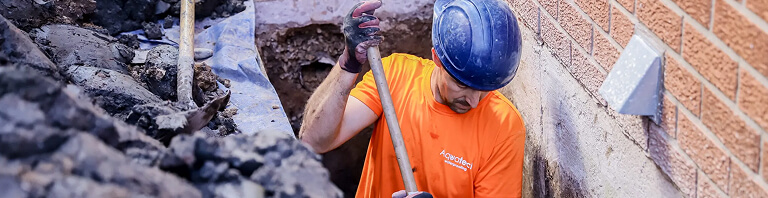
Interior Waterproofing in Mississauga
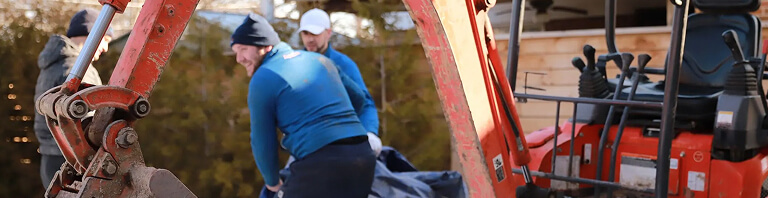
Foundation Repair in Burlington
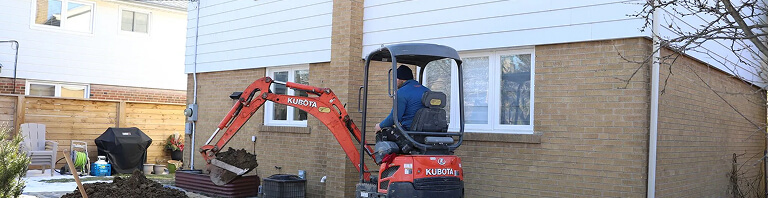
Sump Pump Installation in Toronto

Get in touch
let’s make your plan come true .
FAQs, Basement Waterproofing
What is the best waterproofing method for a basement?
What's better: interior or exterior waterproofing?
What is the typical cost of basement waterproofing in Ontario?
A full interior waterproofing system with drainage and a sump pump usually falls between $3,000 and $10,000, depending on the length of wall involved. Exterior waterproofing, which involves excavation and a complete membrane system, generally runs $8,000 to $20,000 or more for a full-perimeter job.
Toronto pricing specifically breaks down to $69-$190 per linear foot for interior work and $90-$280 per linear foot for exteriorsee our full cost breakdown for exact numbers by project type. Your final cost depends on square footage, the severity of the leak, foundation accessibility, and whether structural repairs are needed alongside waterproofing. A free, itemized inspection is the only way to know your real number rather than a broad estimate.